

Ever feel like the skincare aisle is speaking a language you just don't understand? Ingredients with names longer than your arm, chemicals that sound like they belong in a science lab (or maybe even a nuclear reactor!), and promises of instant transformation. It's enough to make your head spin faster than a cosmetic company's marketing campaign. Sometimes, the best solutions are the simplest ones, and nature offers a treasure trove of potent, pronounceable ingredients. One of the most celebrated? Shea butter.
Today, we'll unlock the secrets of shea butter and guide you through creating your very own whipped shea butter cream. Making your own shea butter cream empowers you to control what goes into your skincare routine. You can customize it to perfectly suit your skin's unique needs. Plus, there's something incredibly satisfying about crafting your own beauty products.
Do I Really Need Shea Butter On My Skin?

Shea butter isn't just another skincare ingredient; it's a powerhouse of nourishment for your skin. Its importance stems from its unique ability to deeply moisturize, protect, and soothe, making it a valuable addition to any skincare routine. Why is it so crucial? Because healthy skin is happy skin, and shea butter helps you achieve just that.
Here's a quick rundown of what shea butter can do for your skin:
- Intense Hydration: Say goodbye to dry, flaky skin! Shea butter's rich fatty acids lock in moisture for long-lasting hydration.
- Skin Barrier Protection: Shea butter strengthens your skin's natural barrier, shielding it from environmental aggressors like harsh weather and pollution.
- Soothes Irritation: Its anti-inflammatory properties can calm irritated skin conditions like eczema and psoriasis.
- Non-Comedogenic: Won't clog pores, making it suitable for all skin types, even oily and acne-prone skin.
- Antioxidant Boost: Vitamins A and E fight free radicals, protecting your skin from premature aging.
- Soft & Supple Skin: Regular use leaves your skin feeling incredibly soft, smooth, and supple.
- Natural & Gentle: A natural ingredient that's gentle enough for even the most sensitive skin.
Read More: Best SPF 30 Sunscreen: Your Ultimate Sun Protection Guide
Read More: The Benefits of Tallow Soap For Healthy and Growing Skin
What You’ll Be Needing To Get Started
Ready to whip up your own shea butter cream? Let's make sure you're fully equipped for skincare success. Here's your essential ingredient and tool checklist:
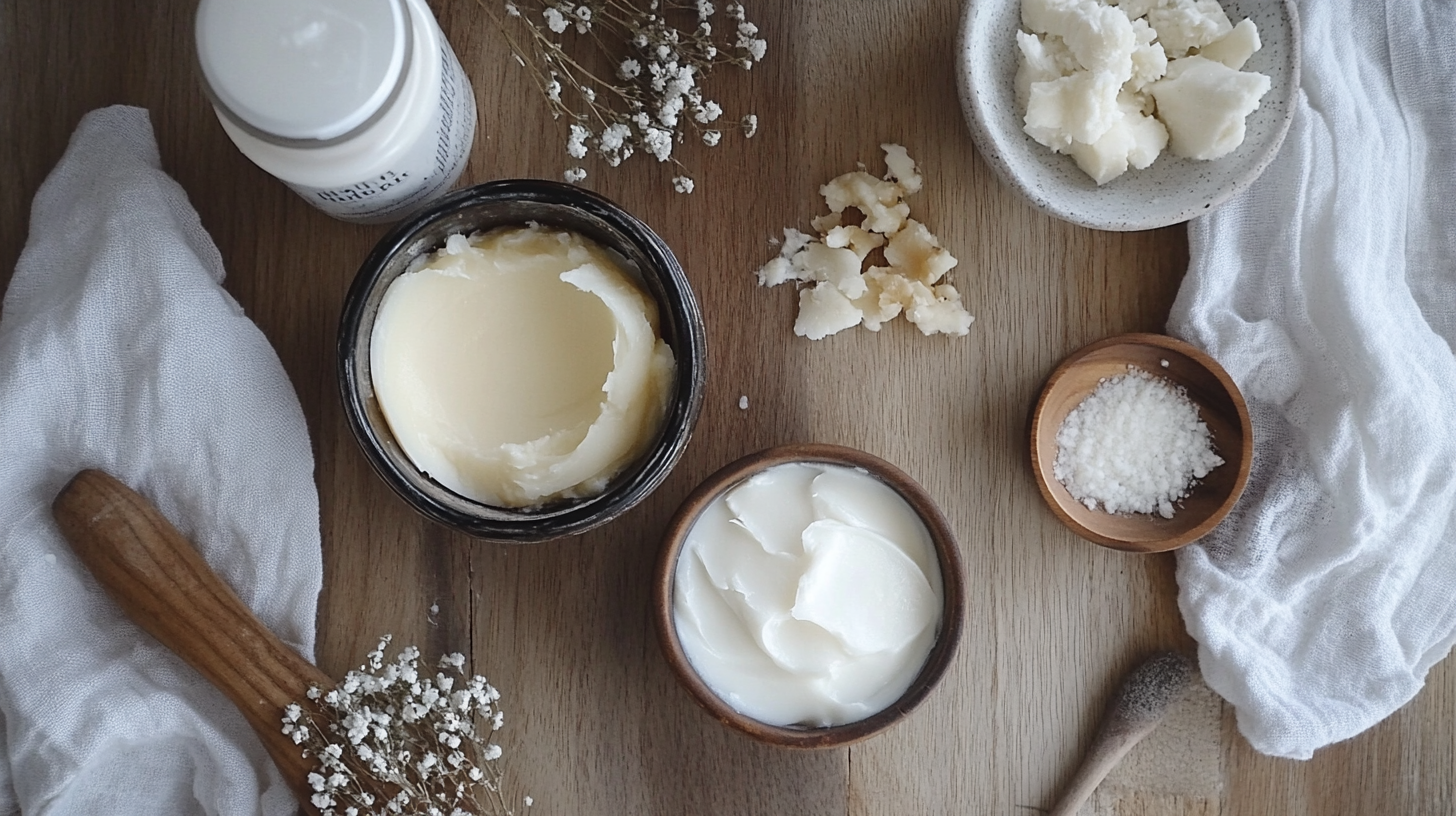
The Star Ingredients
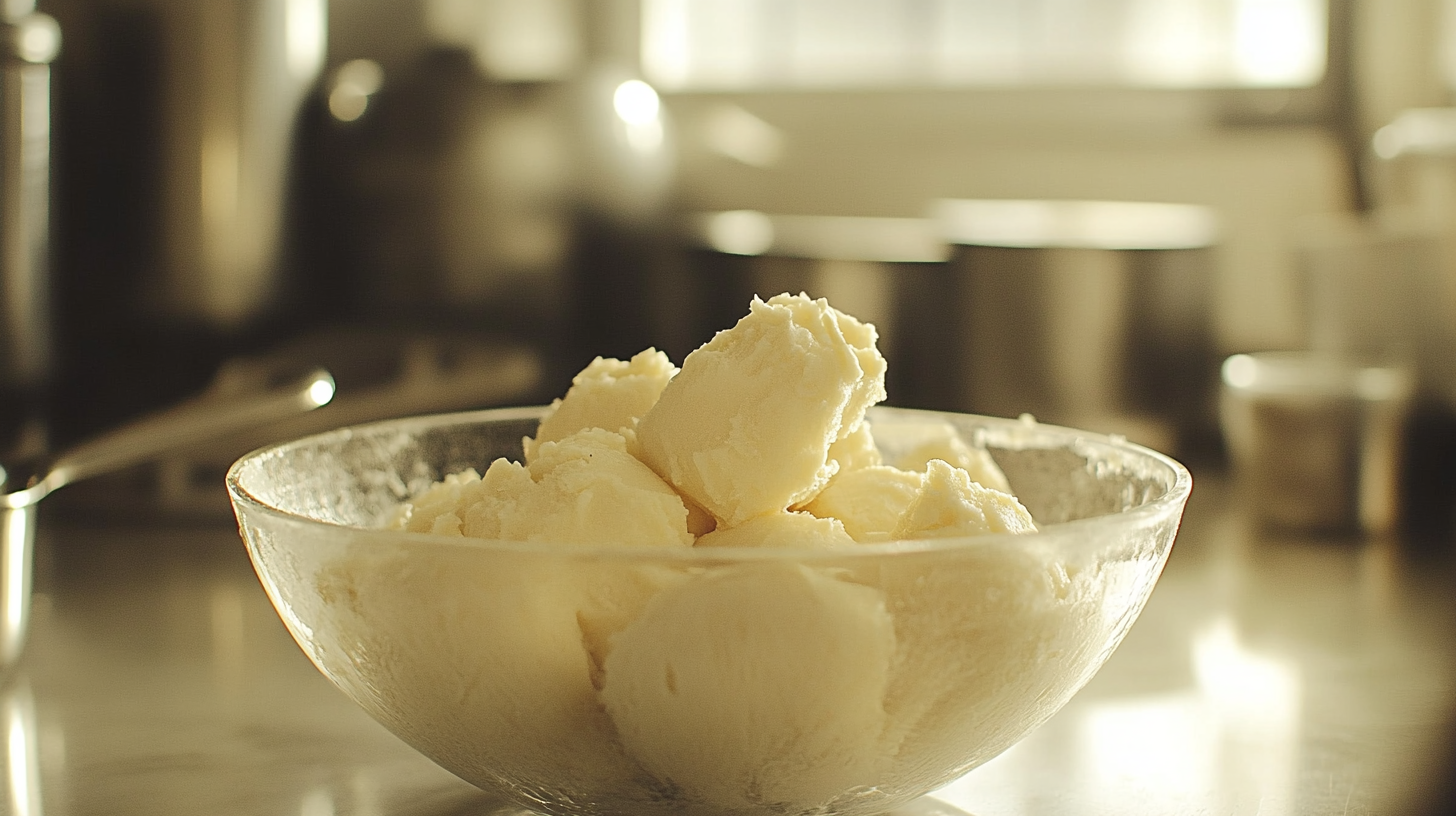
- Shea Butter: The star of the show! Look for unrefined shea butter for maximum benefits.
- Carrier Oil(s): These help dilute the shea butter and add extra nourishing properties. Popular choices include coconut oil, almond oil, jojoba oil, or avocado oil.
- Essential Oils (Optional): For a touch of natural fragrance and added benefits. Lavender, chamomile, and rose are great options.
Your Tool Kit
- Double Boiler or Heat-Safe Bowl: For gently melting the shea butter. A double boiler is ideal, but a heat-safe bowl placed over simmering water works just as well.
- Mixing Utensils: Spatulas, spoons, or whisks for combining ingredients.
- Electric Mixer (Handheld or Stand): To whip the cream to a light and fluffy consistency. A whisk can work, but it requires more elbow grease.
- Storage Jars or Containers: To store your finished shea butter cream. Make sure they're clean and airtight.
- Measuring Cups and Spoons: For precise measurements – crucial for recipe success!
Making Shea Butter Cream: Step-By-Step
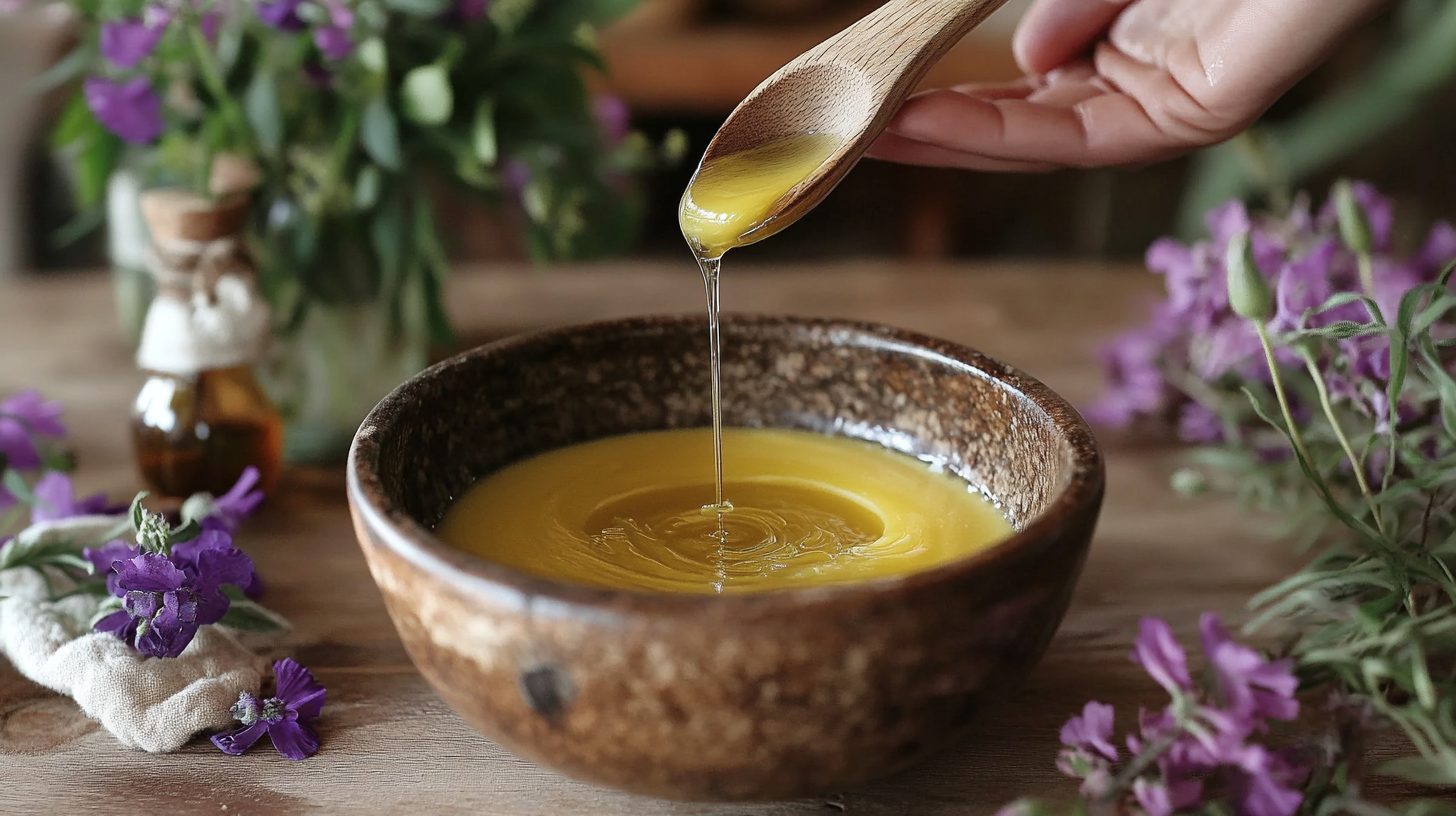
Step 1: Melting the Shea Butter
The first step is to gently melt the shea butter. The best way to do this is using a double boiler. If you don't have one, don't worry! You can create a makeshift double boiler by placing a heat-safe bowl over a pot of simmering water.
Make sure the bowl isn't touching the water. Gently melt the shea butter over low heat, stirring occasionally, until it's completely liquefied. Be patient and avoid overheating, as this can affect the final texture of your cream.
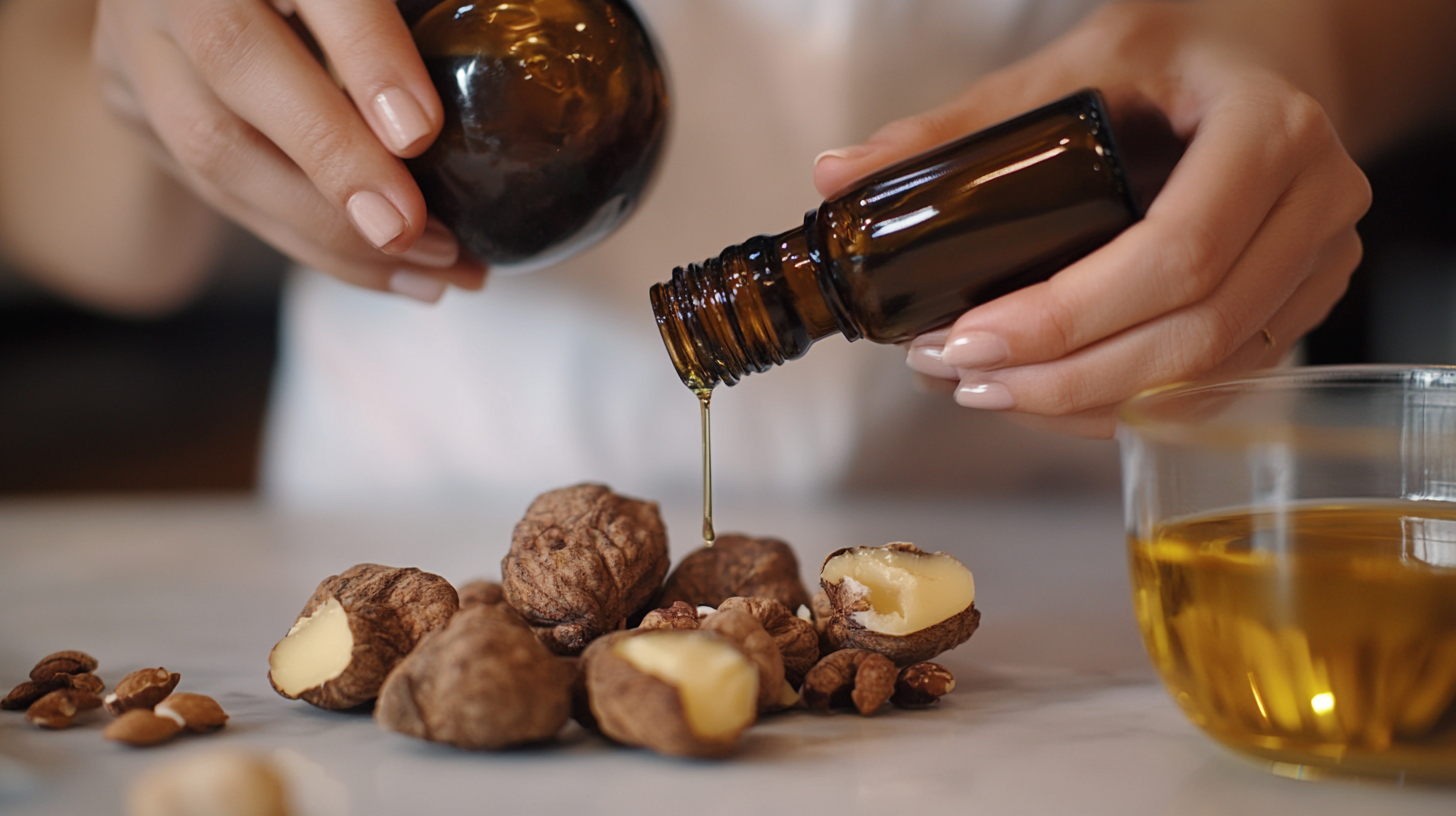
Step 2: Blending in the Oils
Once the shea butter is melted, remove the bowl from the heat (carefully!). Now it's time to add your chosen carrier oils. Coconut oil, almond oil, jojoba oil, and avocado oil are all fantastic options.
Each oil brings its own unique benefits to the table, so feel free to experiment and find your favorite combination. Add your measured carrier oils to the melted shea butter and stir gently to combine.
Step 3: Adding Natural Fragrance (Optional)
Want to add a touch of natural fragrance to your shea butter cream? This is where essential oils come in. Lavender, chamomile, and rose are all beautiful choices that complement shea butter perfectly. Remember, essential oils are potent, so always dilute them properly.
A few drops (around 10-15) should be enough for this recipe. Add the essential oils to the mixture and stir gently to distribute them evenly.
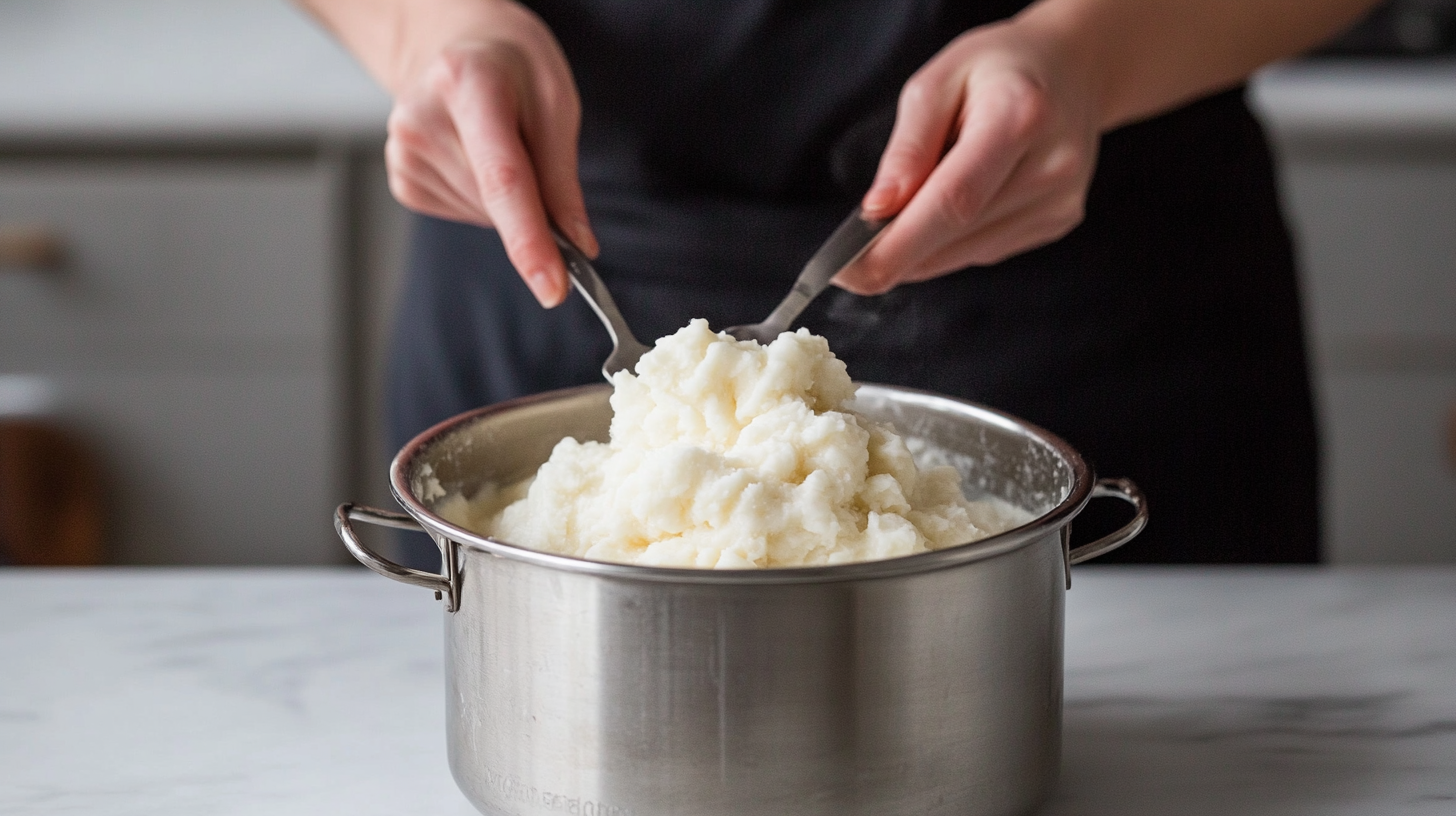
Step 4: Whipping to Perfection
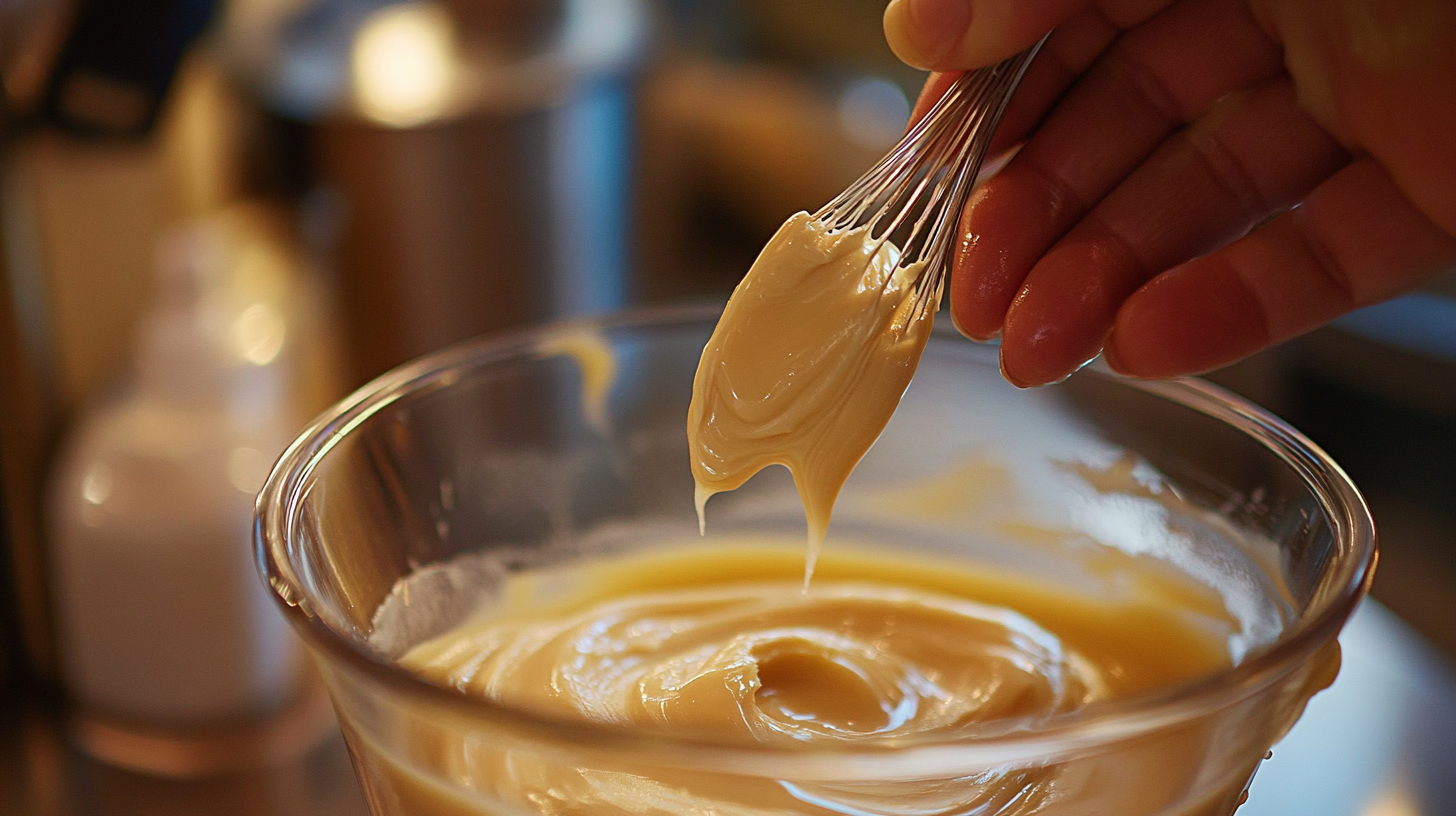
Now for the fun part: whipping your cream! This is what gives it that light and fluffy texture. Using a hand mixer or a stand mixer, whip the shea butter and oil mixture for several minutes until it starts to thicken and lighten in color.
You'll notice it transforming from a liquid to a creamy, whipped consistency. Keep whipping until you achieve your desired texture – light and airy or slightly denser, it's up to you!
Step 5: Cooling and Setting
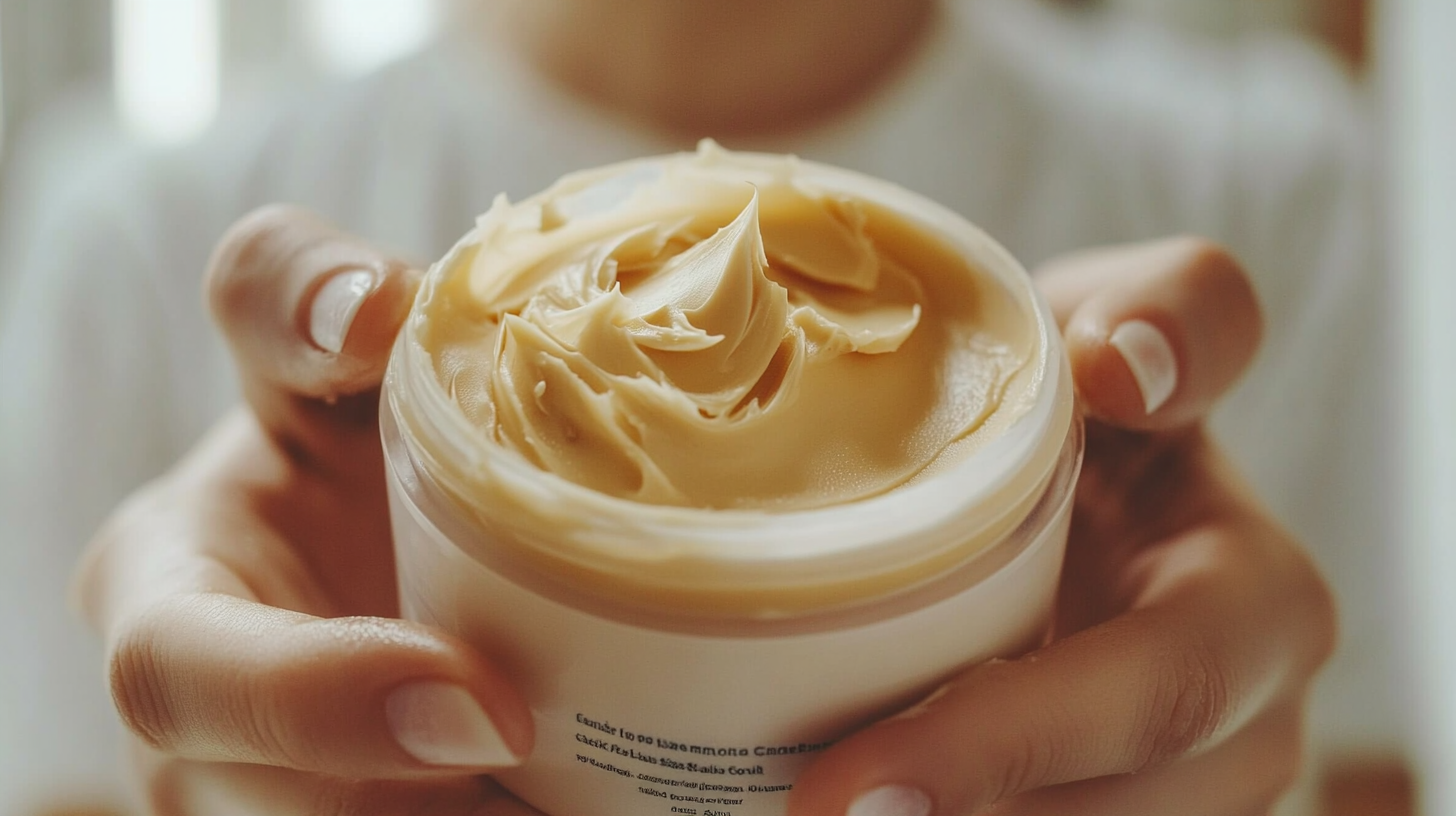
Once your shea butter cream is whipped to perfection, transfer it to your clean storage jars or containers. Allow the cream to cool and set completely at room temperature. This may take a few hours. Avoid putting it in the refrigerator, as this can sometimes affect the texture.
Storing and Using Your Shea Butter Cream
You've created your luxurious shea butter cream – congratulations! Now, let's ensure it stays fresh and effective with these simple storage and usage tips.
Storing Your Shea Butter Cream
Proper storage is key to maintaining the quality and shelf life of your homemade cream. Here's what you need to know:
- Cool and Dark: Store your shea butter cream in a cool, dark place away from direct sunlight and heat. Excessive heat can cause the cream to melt or change texture.
- Airtight Containers: Use clean, airtight jars or containers to prevent contamination and maintain freshness.
- Room Temperature is Best: While it might seem tempting to refrigerate your cream, it's generally best to store it at room temperature. Refrigeration can sometimes alter the texture, making it harder to scoop and apply.
- Shelf Life: Your homemade shea butter cream should last for several months when stored properly. However, keep an eye on it for any changes in smell or appearance, which could indicate spoilage.
Read More: Best Tallow Soap for Sensitive Skin: Unlock Gentle Care
Read More: How to Choose the Perfect Sunscreen Cream for Your Face
Using Your Shea Butter Cream

Now for the best part – applying your homemade goodness!
- A Little Goes a Long Way: Shea butter cream is rich and concentrated, so you only need a small amount to moisturize your skin effectively.
- Apply to Clean Skin: For optimal absorption, apply the cream to clean, dry skin after showering or washing your face.
- Gentle Massage: Gently massage the cream into your skin using circular motions. Allow it to absorb completely before applying makeup or other products.
- Customize Your Routine: Use your shea butter cream as often as needed, depending on your skin's dryness and needs. It's perfect for daily moisturizing, or you can use it as a targeted treatment for dry patches or irritated skin.
A Word of Caution
While shea butter is generally safe for most skin types, it's always a good idea to do a patch test before applying it to a large area, especially if you have sensitive skin or known allergies. Apply a small amount to your inner arm or behind your ear and wait 24 hours to check for any reactions.
The End? Nah, Just the Beginning of Your Best Skin Ever!
And there we have it! You've just created your own luxurious whipped shea butter cream. You've transformed simple, natural ingredients into a treat your skin will adore. This DIY approach lets you control what you apply, skipping harsh chemicals and mystery additives.
Shea butter is a gift from nature, offering incredible benefits. From deep hydration and protection to soothing irritation and boosting radiance, it's a skincare essential. You've now unlocked shea butter's secrets and can create a truly personalized skincare experience!
FAQs
Q1: How long does homemade shea butter cream last?
When stored properly in a cool, dark place in an airtight container, your homemade shea butter cream should last for several months, typically 2-3 months. Keep an eye on it for any changes in smell or appearance. If it starts to smell rancid or the texture changes significantly, it's best to discard it. Making smaller batches can also help ensure you use it up before it goes bad.
Q2: Can I use any carrier oil with shea butter?
Yes, you can definitely experiment with different carrier oils! Each oil offers unique benefits. Coconut oil adds extra moisturizing power, almond oil is known for its soothing properties, jojoba oil mimics your skin's natural sebum, and avocado oil is packed with vitamins.
Consider your skin type and desired benefits when choosing your carrier oil. A blend of a couple of different oils can also be a great option!
Q3: My shea butter cream turned out grainy. What did I do wrong?
A grainy texture in your shea butter cream usually means the shea butter wasn't melted and cooled properly. This can happen if it's overheated or cooled too quickly. Don't worry, it's fixable!
You can try re-melting the cream gently in a double boiler and then allowing it to cool slowly and undisturbed. This should help smooth out the texture. Make sure not to overheat the shea butter and avoid rapid cooling to prevent graininess in the future.