
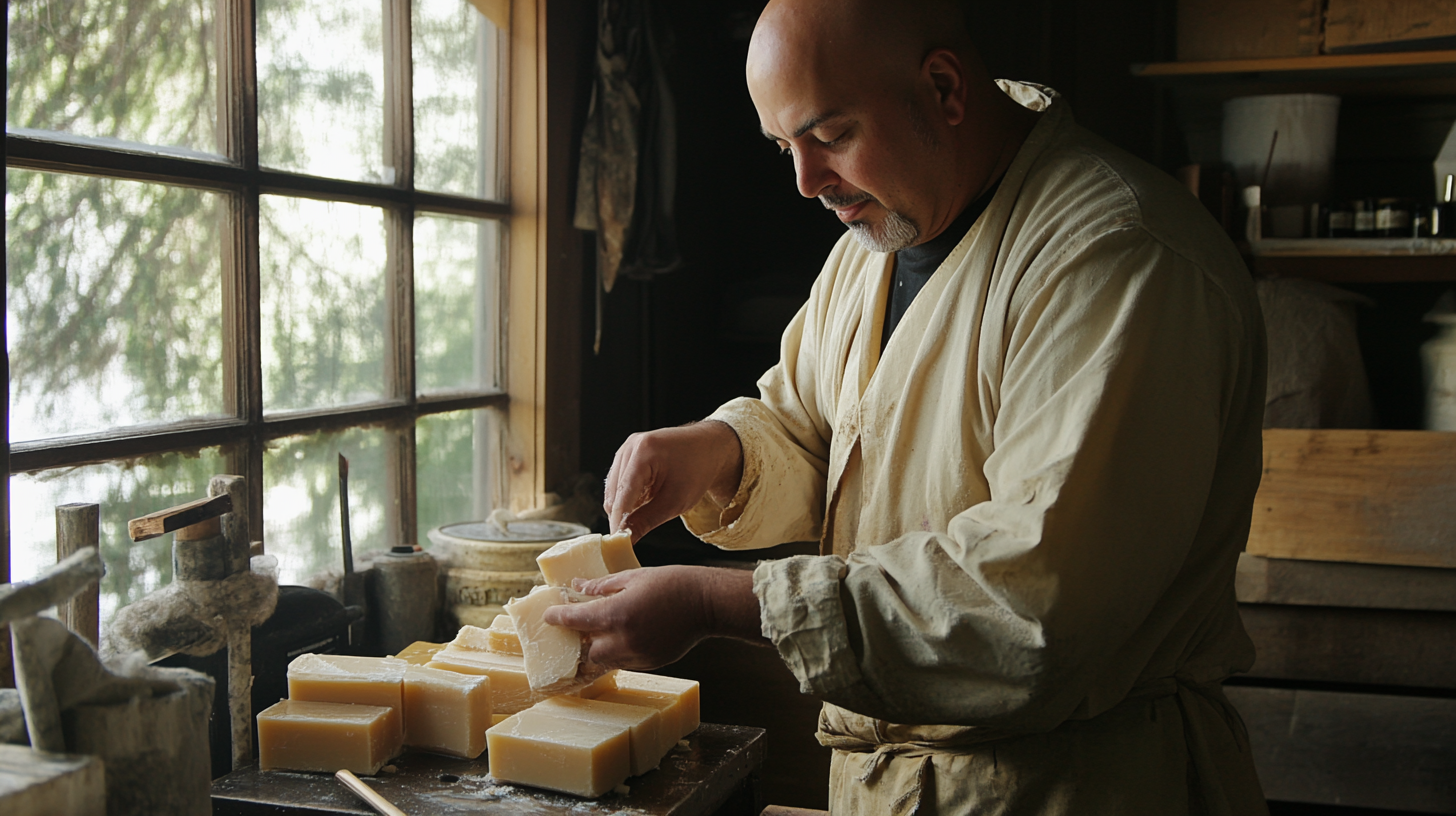
Want to create your own luxurious, natural soap? For centuries, tallow soap has been prized for its creamy lather, gentle cleansing properties, and the nourishing feel it leaves on the skin.
This traditional method of soapmaking, using rendered animal fat, is experiencing a resurgence as people seek natural alternatives to commercial soaps filled with harsh chemicals.
If you're looking for a way to craft a truly personalized and wholesome bar of soap, this guide will walk you through the process of making tallow soap at home, even if you're a complete beginner.
Gathering Your Ingredients for Tallow Soap Making
Making tallow soap requires a few key ingredients, each playing a crucial role in the final product. Let's explore what you'll need:
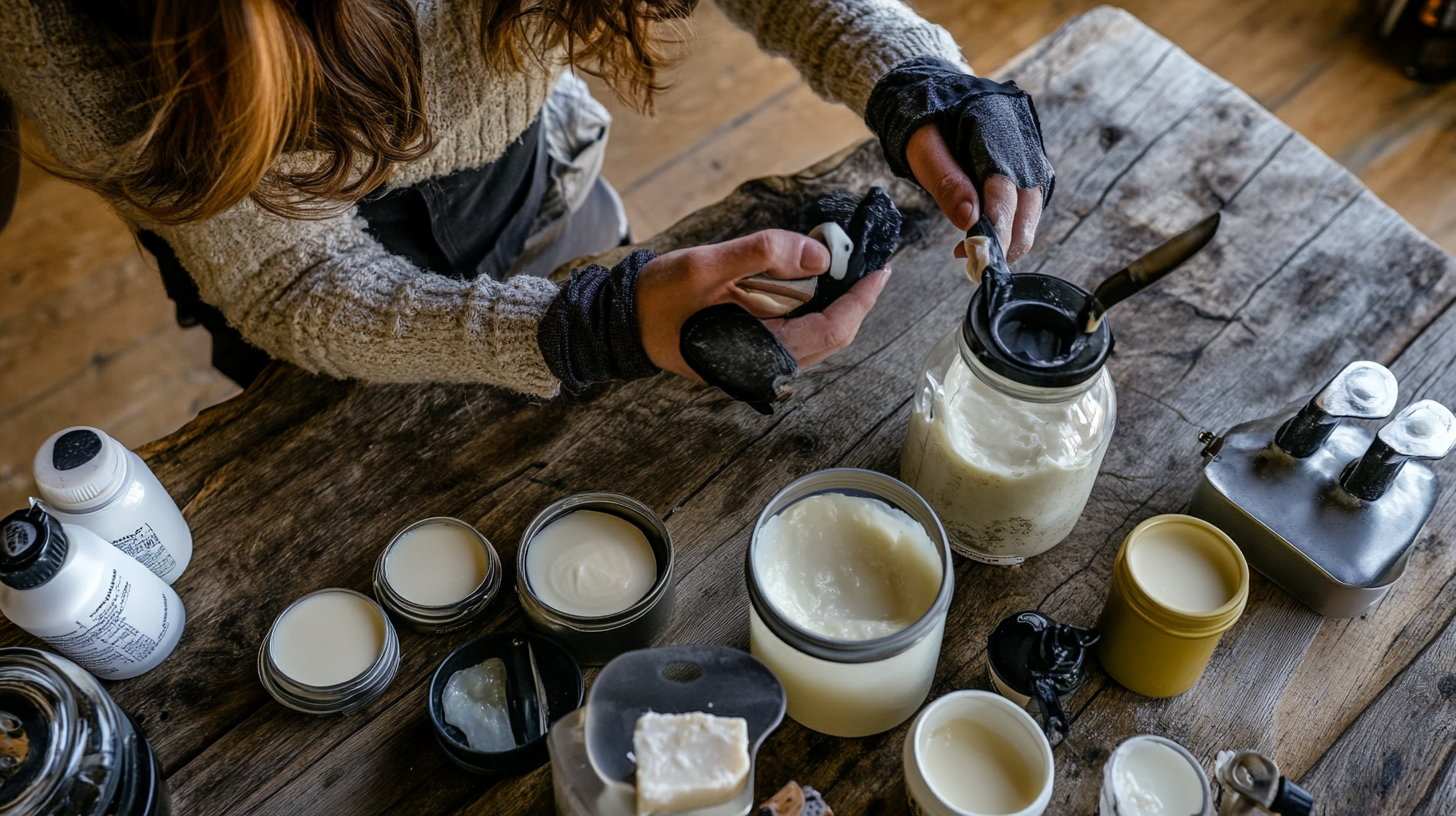
Tallow
The star of the show! Tallow is rendered animal fat, typically from beef. You'll find different types available: rendered tallow (often available at local butchers or farmers markets), refined tallow (more processed and readily available online), and even specific types like "beef suet."
Each has slightly different properties, so research and choose what suits your preferences. Tallow contributes to a hard, long-lasting bar of soap with a creamy lather.
Lye (Sodium Hydroxide)
Also known as caustic soda, lye is an essential ingredient for saponification – the chemical reaction that transforms fats and oils into soap. It is absolutely crucial to use pure lye (sodium hydroxide) specifically intended for soapmaking.
Do not use drain cleaner or other products that may contain additives. Lye is caustic and requires careful handling, which we'll discuss in the safety section
Distilled Water
Using distilled water is highly recommended. Tap water can contain minerals and impurities that might affect the soapmaking process or the quality of your finished soap.
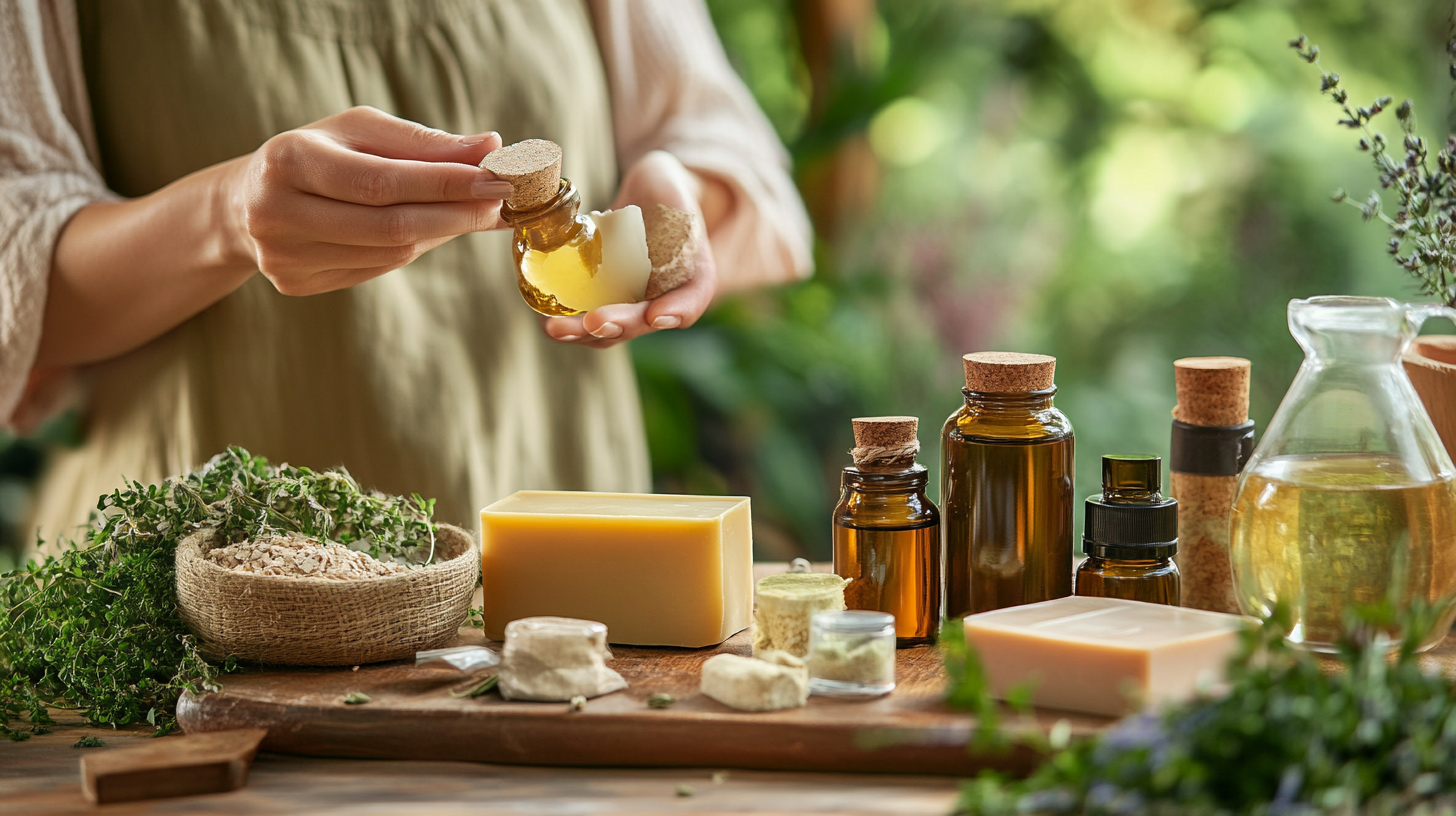
Optional Additives
Once you've mastered the basic recipe, you can explore adding essential oils for fragrance, herbs or botanicals for visual appeal and added skin benefits, or natural colorants to create unique soap designs.
Read More: Tallow in Skincare: Top 5 Benefits
Read More: Natural Soap Ingredients for Clean, Healthy Skin
Essential Equipment for Homemade Tallow Soap
Now that you have your ingredients, it's time to gather the necessary equipment. Having the right tools on hand will make the soapmaking process smoother, safer, and more enjoyable. Here's what you'll need:
Safety Gear
This is non-negotiable. Always wear safety goggles and gloves (nitrile or latex) when working with lye. It's also a good idea to wear long sleeves and closed-toe shoes for added protection. Lye is a caustic substance and can cause serious burns if it comes into contact with your skin or eyes. Prioritize your safety!
Containers
You'll need heat-resistant containers for mixing your lye solution and your oils. Stainless steel or heavy-duty plastic (#5 polypropylene) are excellent choices. Never use aluminum containers, as lye reacts with aluminum. Have two separate containers, one for the lye solution and one for the fats.
Thermometer
A reliable thermometer is essential for monitoring the temperature of your lye solution and oils. Maintaining the correct temperature range is crucial for proper saponification. A digital thermometer that can read between 100-200°F (38-93°C) is ideal.
Scale
Accurate measurements are critical in soapmaking, especially when it comes to lye. A digital kitchen scale that can measure in grams or ounces is a must-have. Don't try to estimate measurements; it can affect the final product and even be dangerous.
Mixing Tools
A stick blender (immersion blender) is highly recommended for efficiently mixing the lye solution and oils. It helps to achieve "trace" quickly and evenly. You can also use a heat-resistant spatula or spoon for stirring, but a stick blender will make the process much easier.
Mold
You'll need a mold to pour your soap mixture into. Silicone molds are popular and easy to use, as they release the soap easily. You can also use a wooden mold lined with parchment paper. Consider the size and shape of the mold, as this will determine the size and shape of your soap bars.
Handling Lye and Making Tallow Soap
Working with lye is the most potentially hazardous part of making tallow soap, so understanding and practicing proper safety procedures is absolutely essential.
Don't let this scare you away from soapmaking, but do take it seriously. With the right precautions, you can safely create beautiful and beneficial tallow soap.
Lye Safety
Lye (sodium hydroxide) is a strong alkali that can cause severe chemical burns if it comes into contact with skin or eyes. Always treat it with respect and follow these guidelines:
- Add Lye to Water, Never Water to Lye: This is the golden rule of lye safety. Adding water to lye can cause a violent reaction, potentially splashing lye solution onto you. Always pour the lye slowly and carefully into the cold distilled water.
- Work in a Well-Ventilated Area: Mixing lye and water creates fumes, so do this outdoors or in a room with good ventilation. Avoid breathing in the fumes.
- Wear Protective Gear: As mentioned before, safety goggles and gloves are a must. Protect your skin and eyes from any accidental splashes.
- Have Vinegar on Hand: Vinegar is a mild acid that can neutralize lye. Keep a bottle of vinegar readily available in case of spills. If lye comes into contact with your skin, rinse the area with plenty of water and then apply vinegar.
- Keep Lye Away from Children and Pets: Store lye in a clearly labeled container, out of reach of children and pets.
Soapmaking Safety
Beyond lye safety, there are other considerations when making tallow soap:
- Hot Oils: Be careful when melting and working with hot oils. Use a double boiler or heat-safe containers to avoid burns.
- Curing Process: While curing soap isn't as dangerous as working with lye, it's still good practice to store your curing soap in a well-ventilated area, away from children and pets.
With safety in mind, let's proceed to the step-by-step instructions for making tallow soap at home.
Read More: Best Tallow Soap for Sensitive Skin: Unlock Gentle Care
Read More: Tallow in Skincare: Comedogenic Myths Debunked
Step-by-Step Guide: Making Tallow Soap at Home
Now that you're equipped with the knowledge and safety precautions, let's dive into the step-by-step process of making tallow soap at home. Remember to take your time, be precise with your measurements, and prioritize safety throughout the entire process.
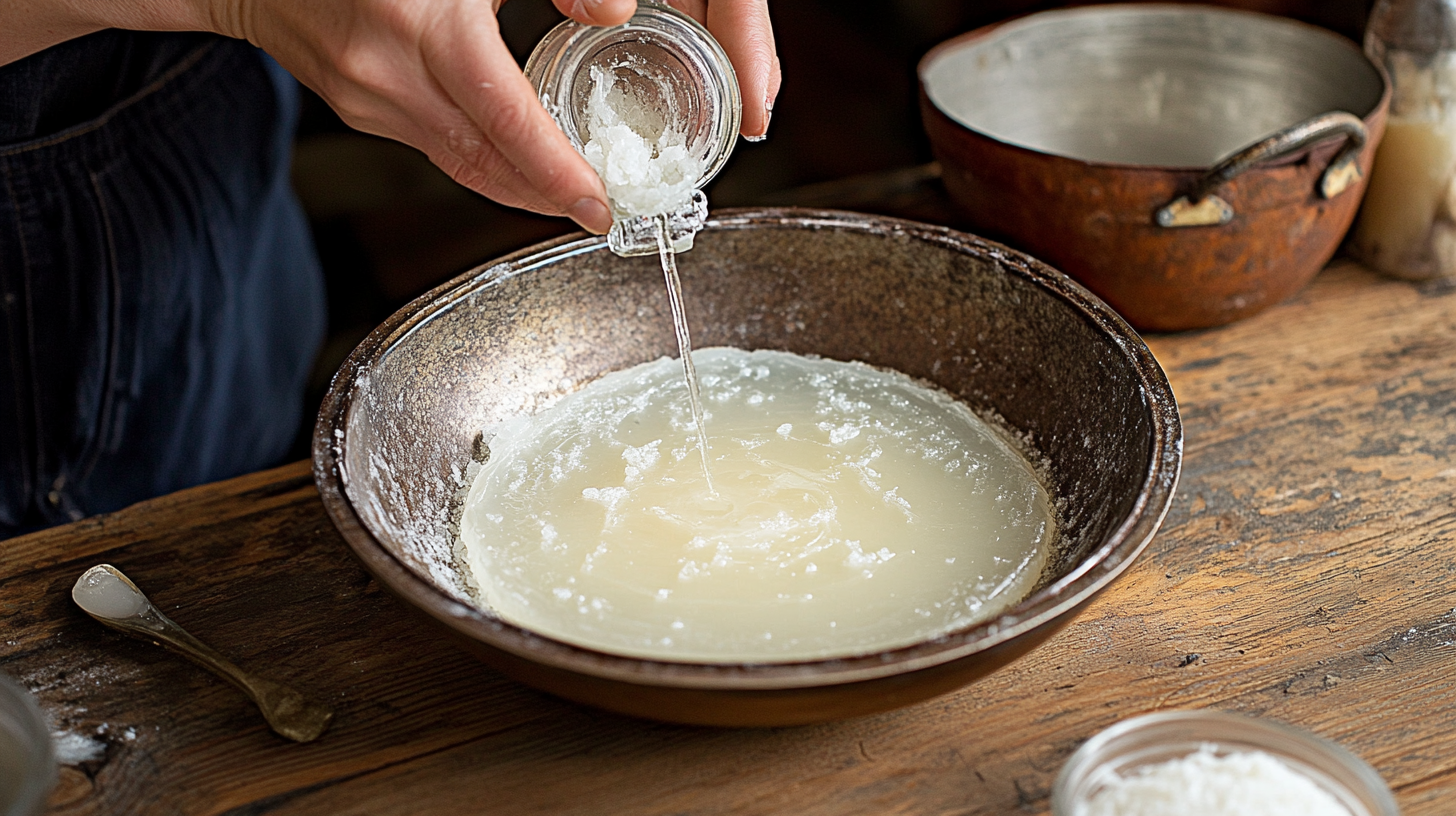
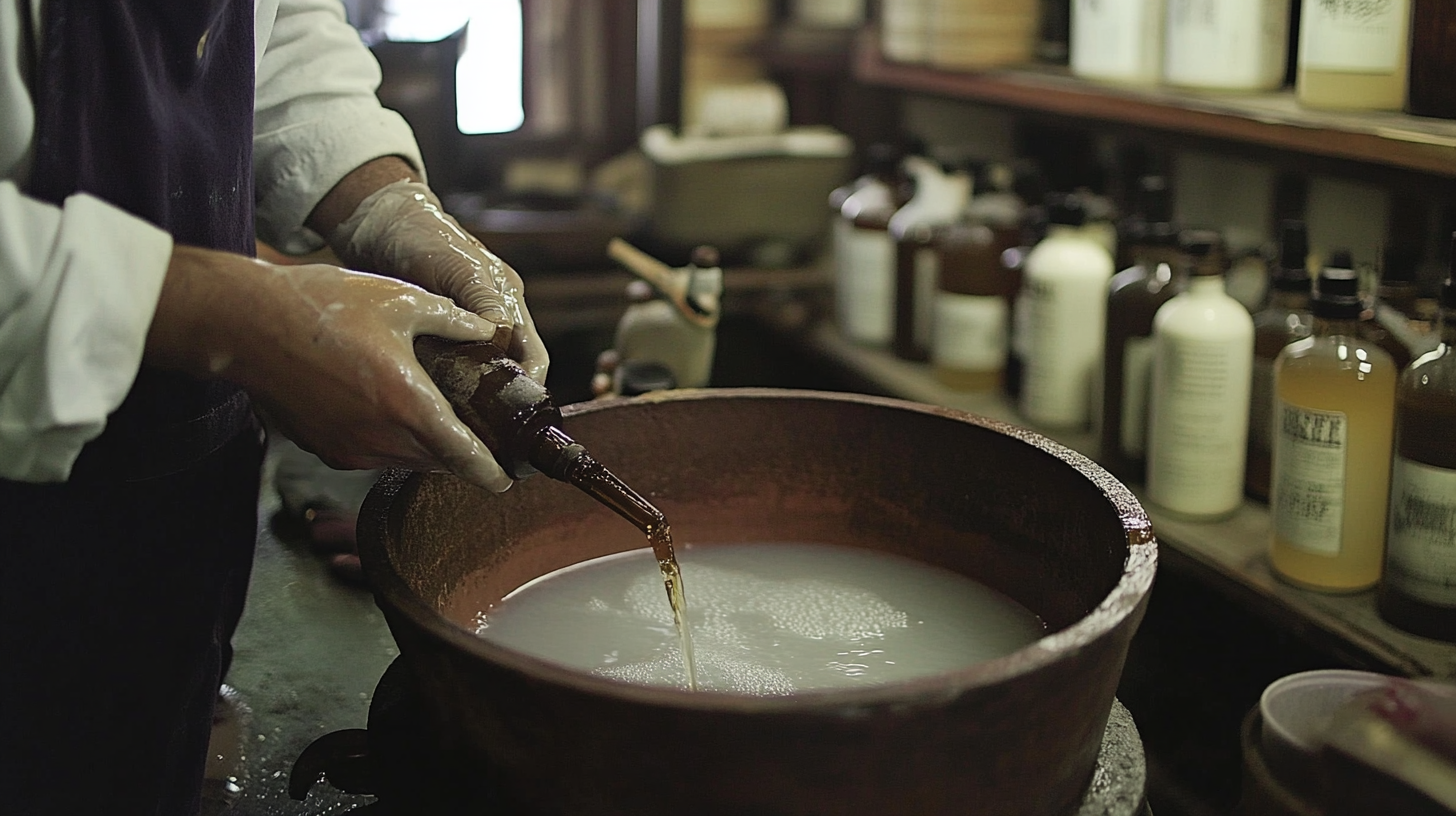
Step 1: Preparing the Lye Solution
- Safety First: Put on your safety goggles and gloves. Work outdoors or in a very well-ventilated area.
- Measure the distilled water: Using your digital scale, carefully measure the required amount of distilled water into your heat-resistant container (stainless steel or #5 plastic).
- Add the lye: Slowly and carefully sprinkle the lye into the water, stirring gently with a heat-resistant spatula or spoon. Never pour water into lye.
- Stir and monitor: The mixture will heat up. Continue stirring until the lye is completely dissolved. The solution will become clear. Let it cool to the desired temperature (around 100-110°F or 38-43°C).
Step 2: Preparing the Oils

- Melt the tallow: In a separate heat-resistant container, melt the tallow using a double boiler or by gently heating it on the stovetop. Avoid overheating the tallow.
- Measure and combine: Once melted, measure the required amount of tallow using your digital scale. If you're using other oils in addition to tallow, add them at this stage.
- Heat (if necessary): If your tallow or other oils are solid at room temperature, gently heat them until they reach the same temperature range as the lye solution (around 100-110°F or 38-43°C).
Step 3: Combining Lye and Oils
- Check temperatures: Ensure that both the lye solution and the oils are within the desired temperature range. This is important for proper saponification.
- Slowly add lye solution: Carefully and slowly pour the lye solution into the container containing the melted oils. Stir constantly using your stick blender or spatula.
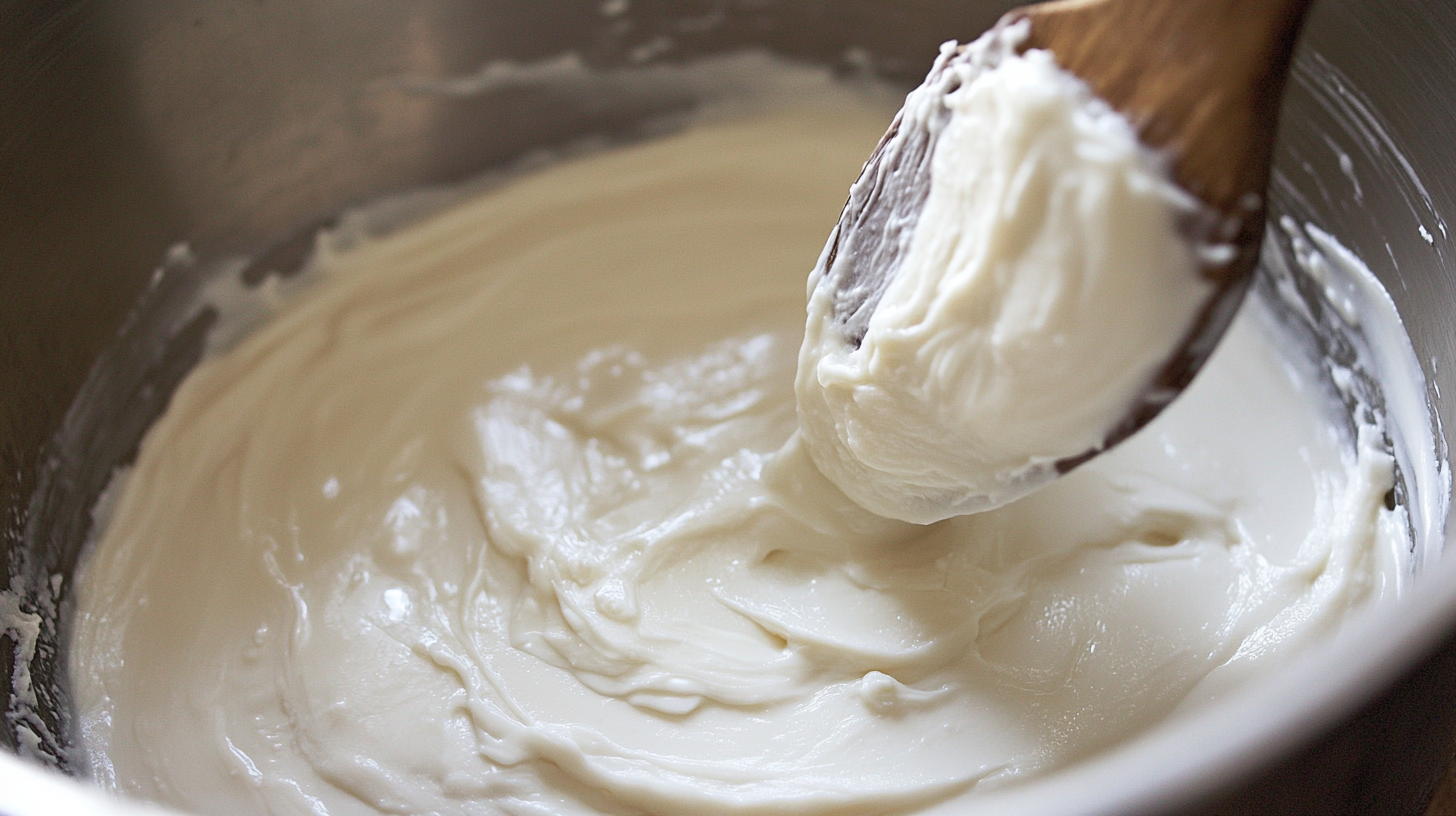
Step 4: Blending and Tracing
- Blend: Use your stick blender to blend the mixture until it starts to thicken. This process is called "tracing." Trace is when the soap mixture reaches a pudding-like consistency. It will leave a faint trail on the surface when you drizzle some of the mixture from your blender.
- Check for trace: Continue blending until you reach a light to medium trace. Don't over-blend, as this can cause the soap to become too thick.
Step 5: Adding Optional Additives
- Add essential oils: If you're using essential oils for fragrance, add them at this stage, after reaching trace. Stir well to incorporate them evenly.
- Add other additives: You can also add herbs, botanicals, or natural colorants at this point. Be sure to research the proper usage rates for any additives you use.
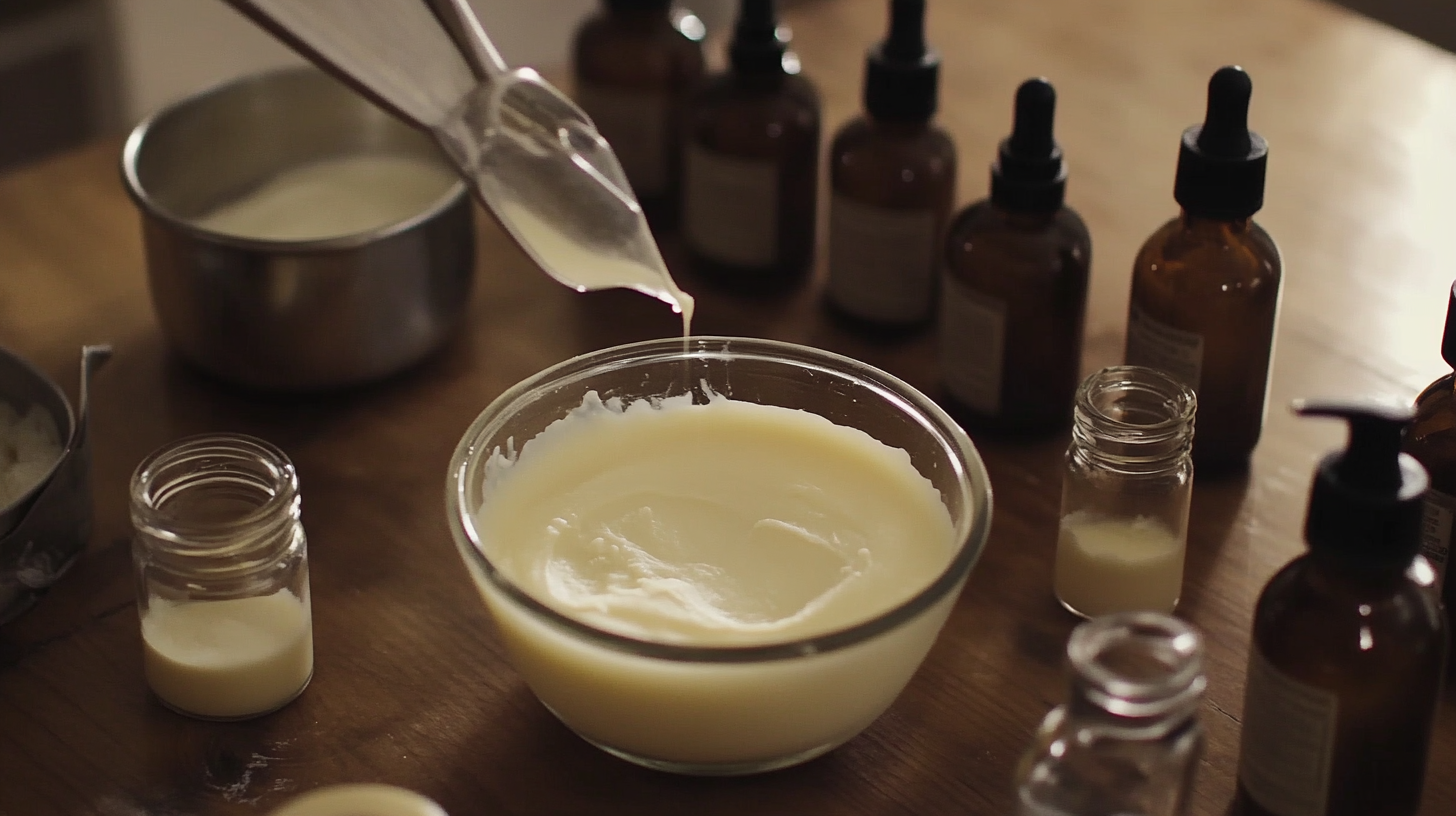
Step 6: Pouring into the Mold
- Prepare the mold: If you're using a wooden mold, make sure it's lined with parchment paper. Silicone molds don't require lining.
- Pour: Carefully pour the soap mixture into the prepared mold. Tap the mold gently on the counter to release any air bubbles.
Step 7: Insulating the Soap
- Insulate: Cover the mold with a blanket or towel to insulate it and retain heat. This helps the saponification process to continue. Leave the soap undisturbed for 24-48 hours.
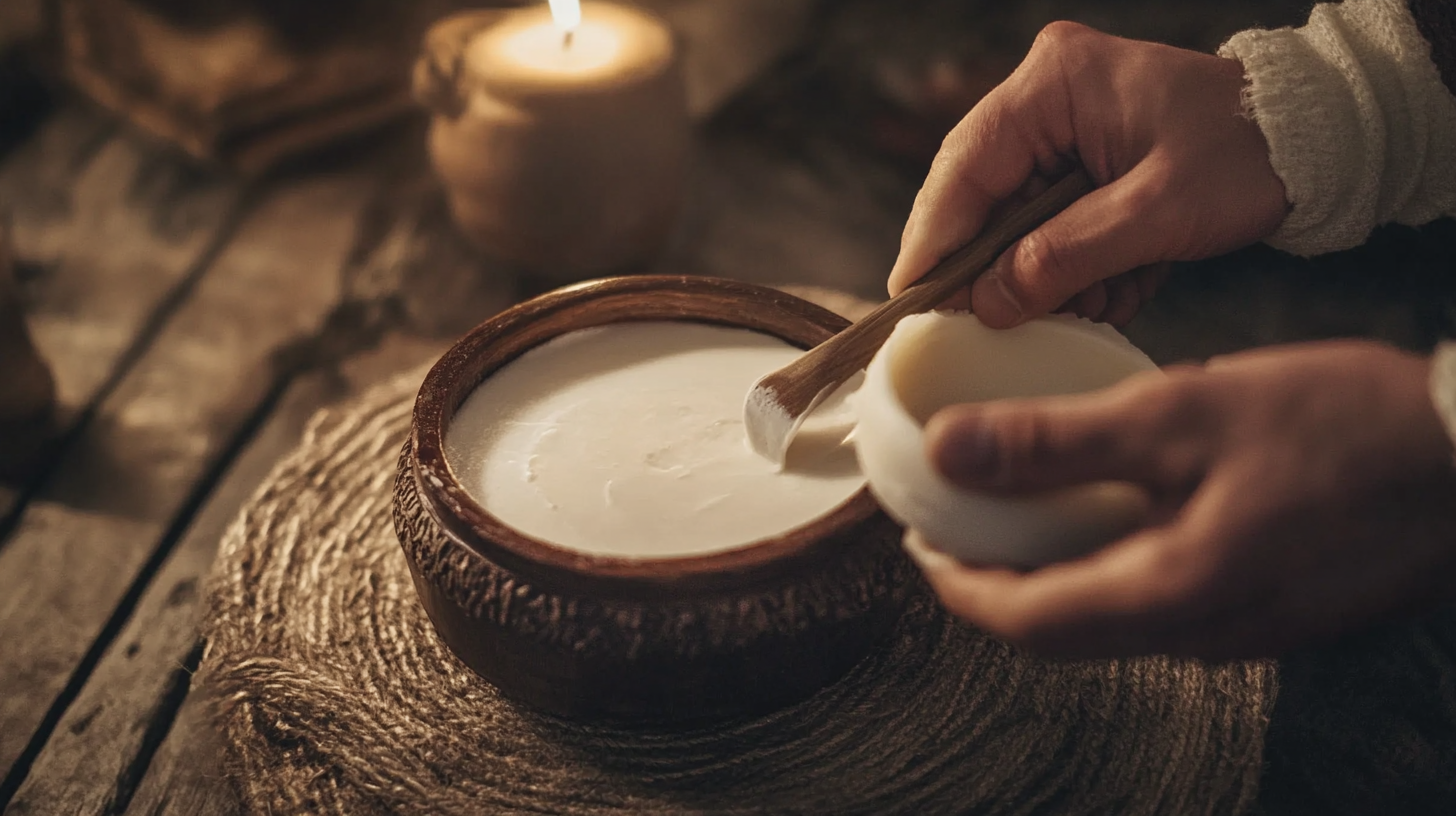
Curing Your Tallow Soap: Patience is Key
You've successfully crafted your tallow soap! But the journey isn't over yet. The curing process is just as important as the soapmaking itself. Curing allows the saponification process to complete, which neutralizes any remaining lye and allows excess water to evaporate. This results in a milder, longer-lasting bar of soap.
Think of curing like aging a fine wine. It takes time and patience, but the result is well worth the wait. Here's what you need to know about curing your tallow soap:
-
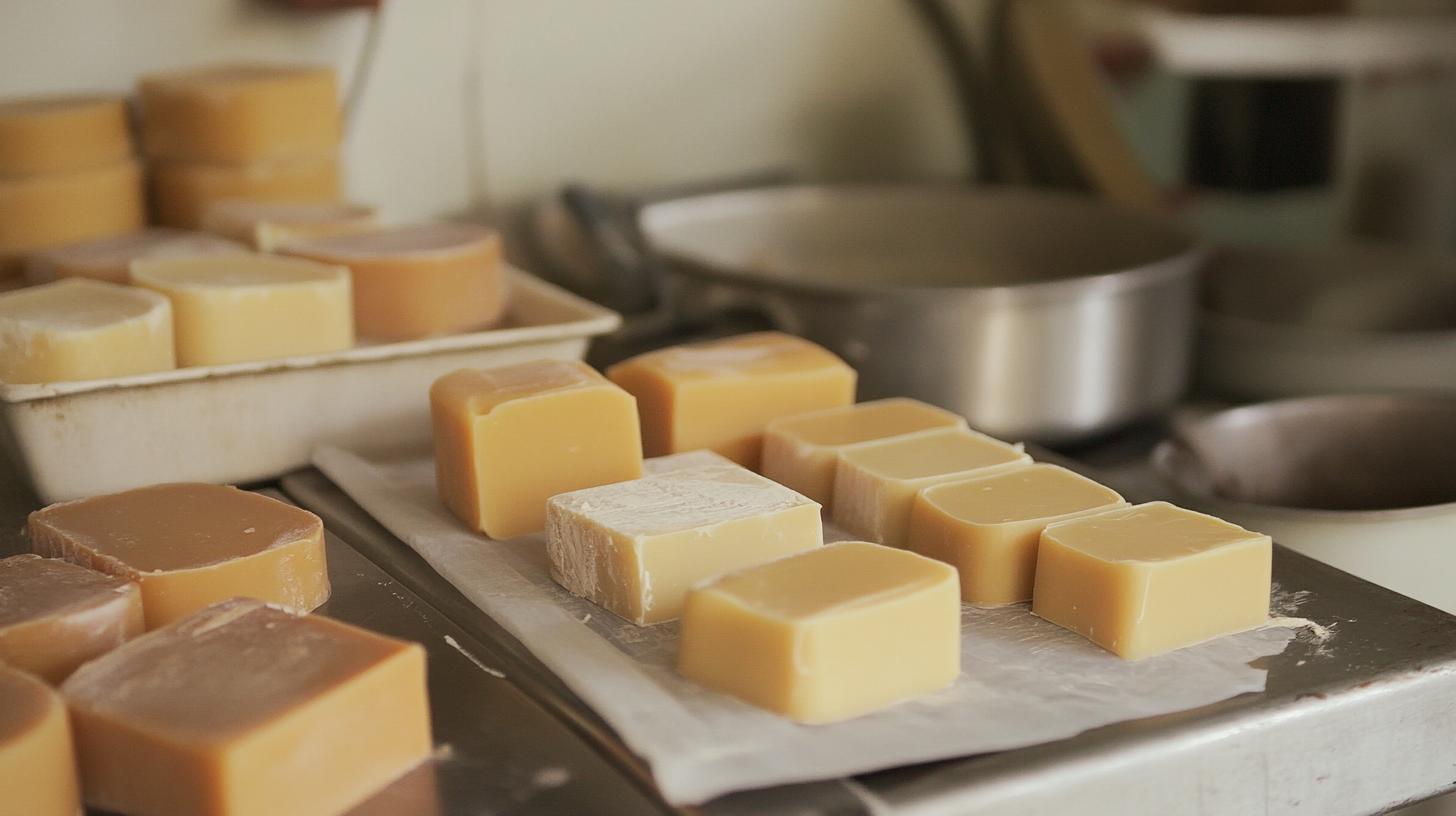
The Curing Process: After 24-48 hours, you can unmold your soap. Cut the soap into individual bars if you used a large mold. Place the bars on a well-ventilated rack or shelf, ensuring that air can circulate around each bar. You can use a wire rack, a slatted shelf, or even line a cardboard box with parchment paper.
-
Time is of the Essence: The minimum curing time for tallow soap is typically 4-6 weeks, but longer curing times (even several months) can result in an even milder and harder bar. The longer you cure your soap, the more water will evaporate, and the gentler the soap will be on your skin.
-
Storage During Curing: Store your curing soap in a cool, dry, and well-ventilated area. Avoid direct sunlight or extreme temperatures. You may notice a white powdery substance (soda ash) forming on the surface of the soap. This is harmless and can be wiped off.
- The Result: After the curing period, your tallow soap will be ready to use. It will be gentler, longer-lasting, and have a richer lather than soap that hasn't been cured properly. So, be patient, and your skin will thank you!
Enjoy Your Homemade Tallow Soap!
So, you've wrangled the lye, wrestled the tallow, and now you have a batch of beautiful, homemade soap. Pretty impressive, right? This traditional craft yields a luxurious, moisturizing bar that's way better than anything you'll find on a store shelf.
Share your creations with others and enjoy the benefits of tallow soap.
Happy soapmaking!